Listing Your Assets
Step-by-Step
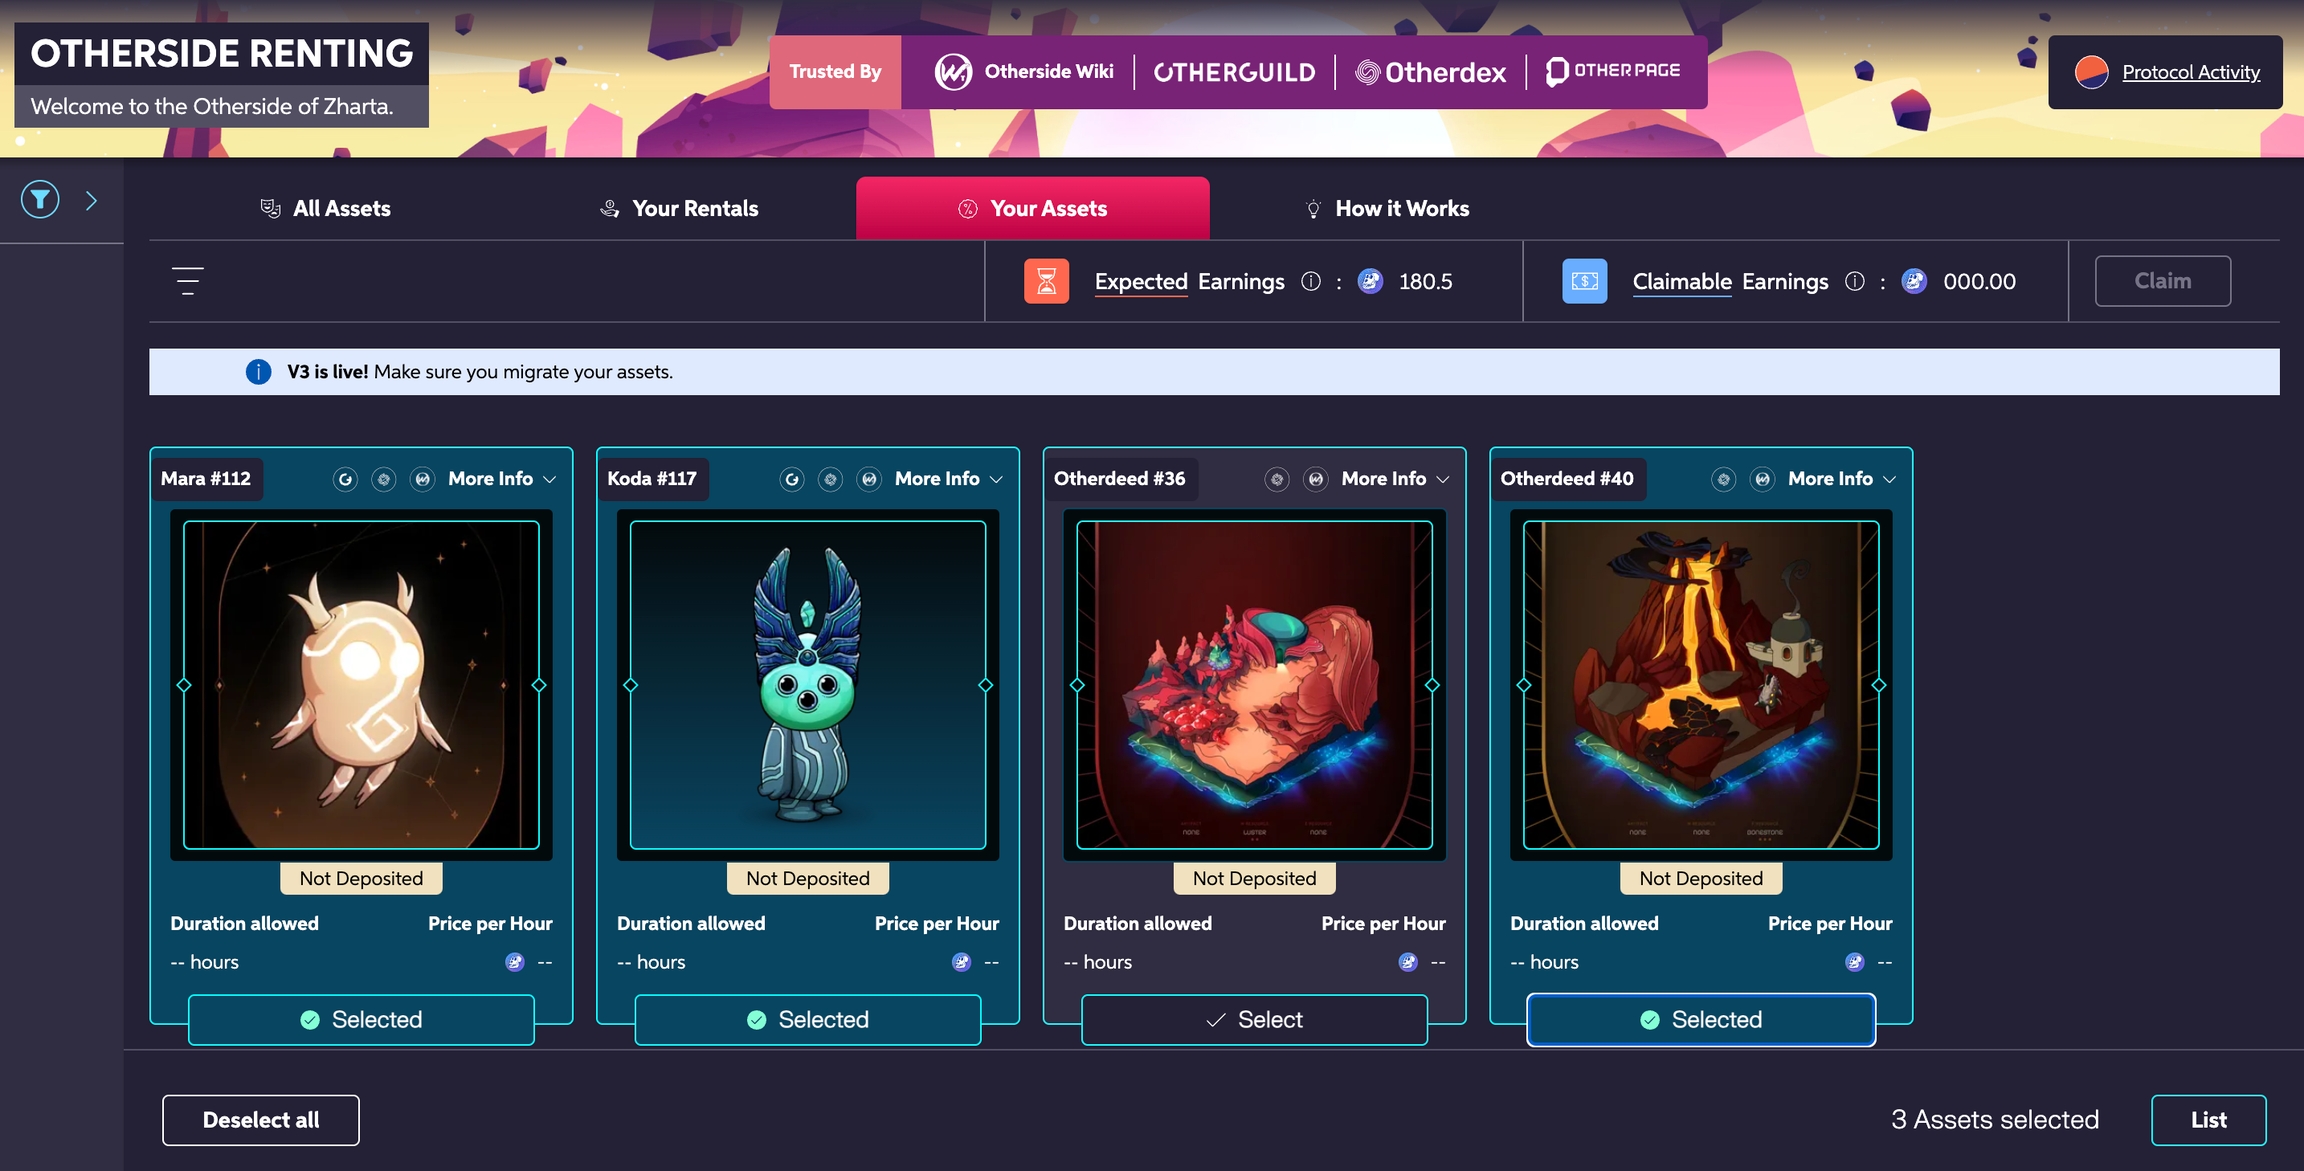
Go to the Your Assets page. There, you will find the assets in your wallet currently supported by our Renting protocol.
Select the assets you wish to list. Then, click List.
Pro tip!
If you have a lot of supported assets, you can use filters to sort through them more easily.
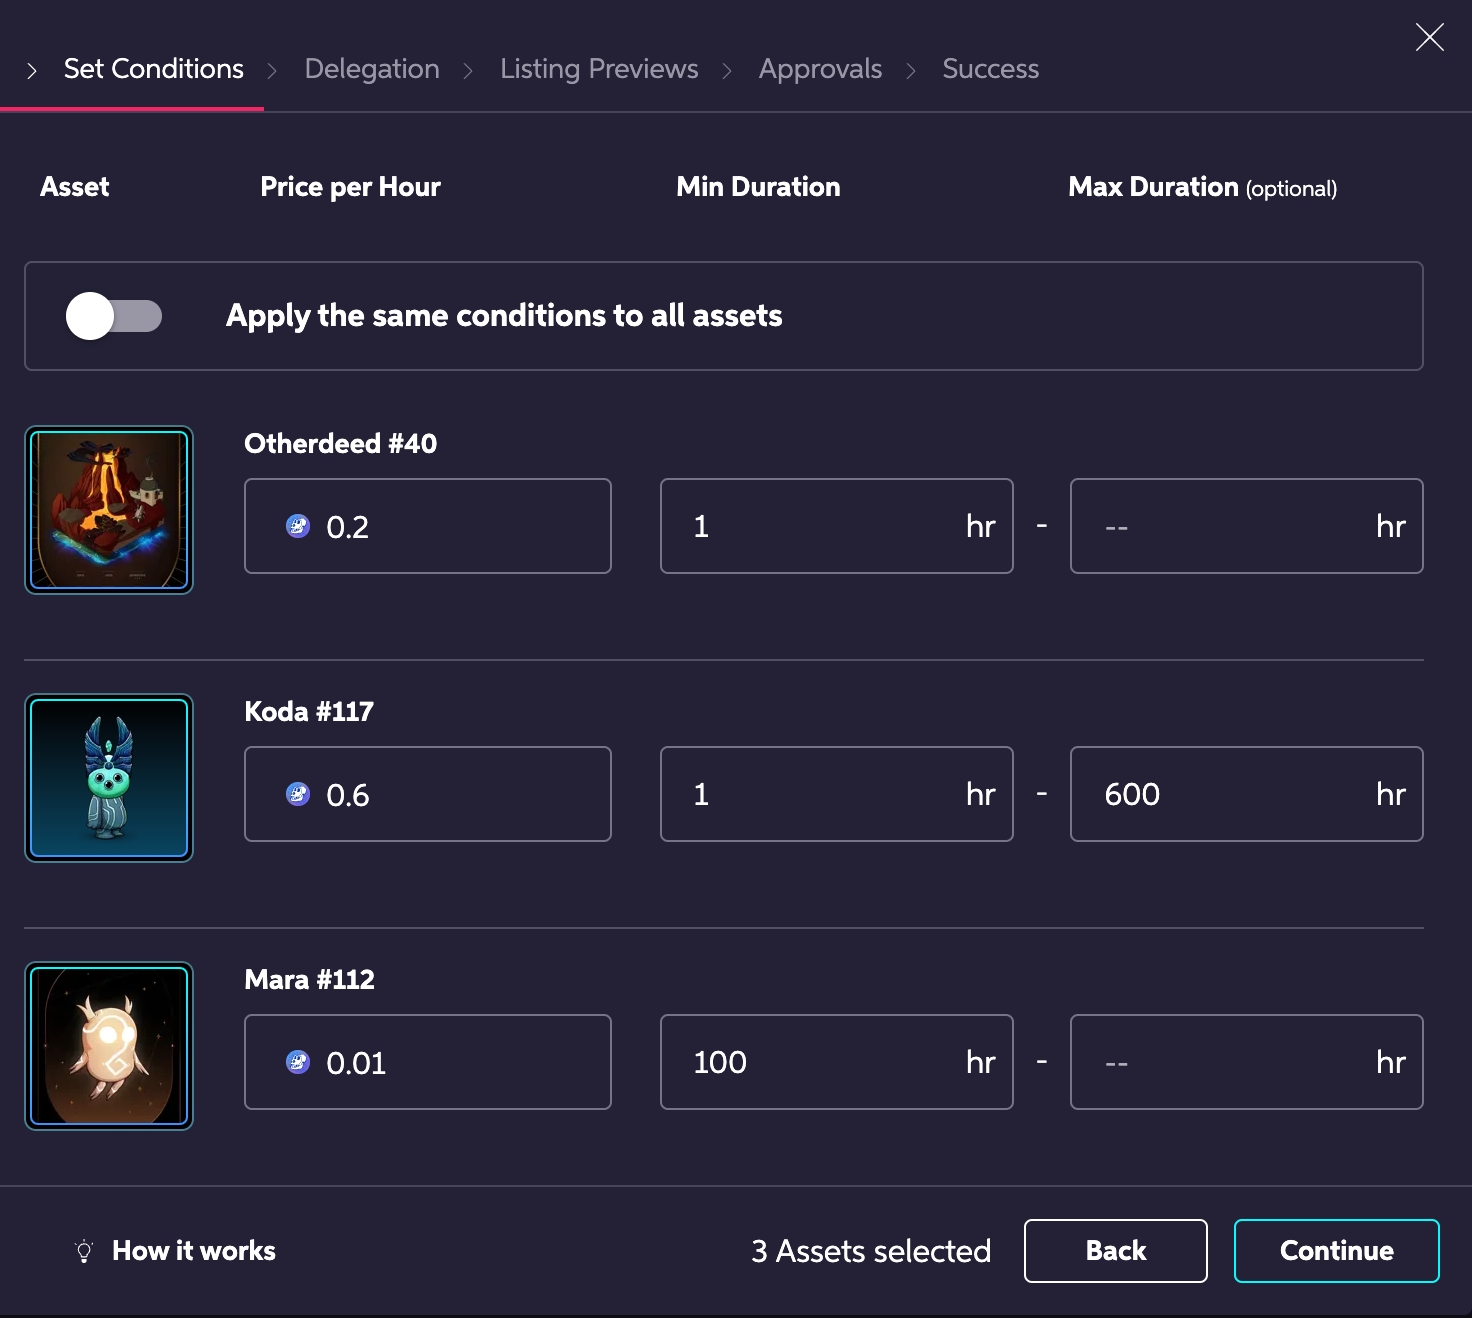
Define the rental conditions – price per hour, minimum, and, optionally, maximum rental duration – for each asset or, if you prefer, use the toggle to apply the same conditions to all the selected assets.
The minimum duration determines the minimum fee. While renters can cancel early to get a refund for the time they didn't use, they will always pay the minimum fee.
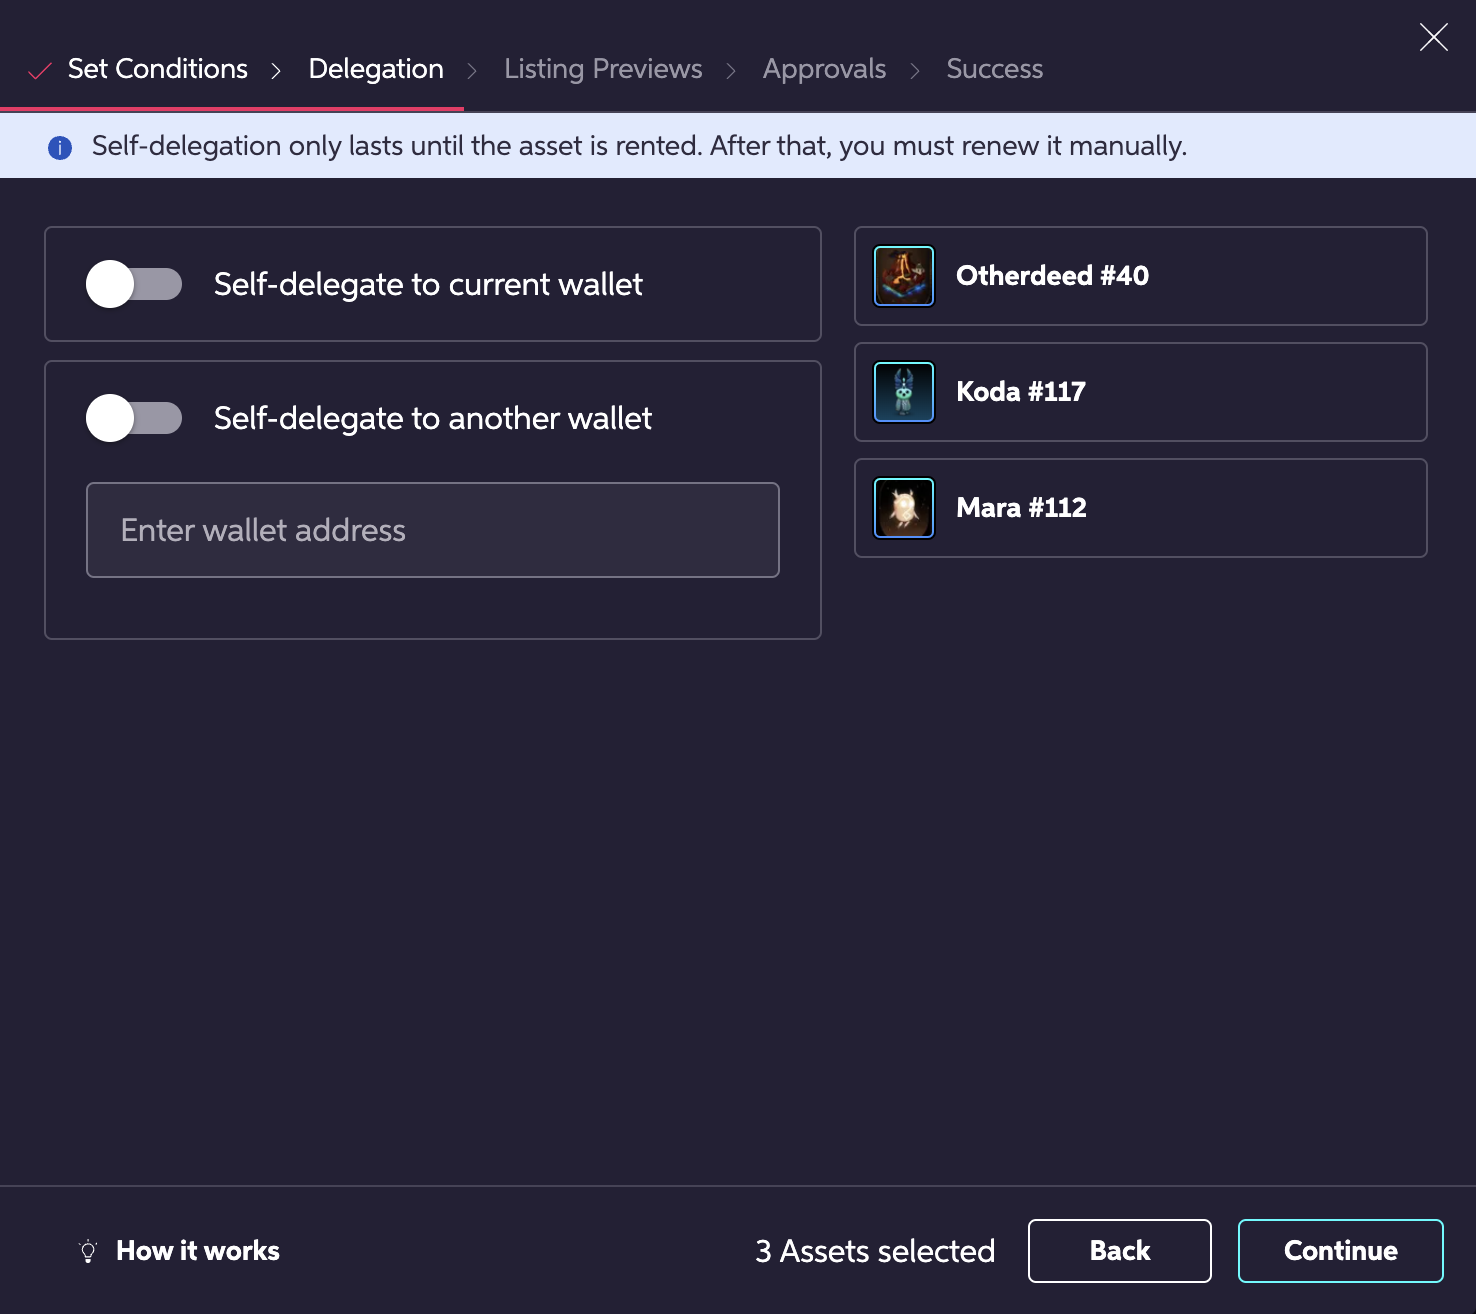
Decide whether you wish to self-delegate your assets. This feature allows you to use your listed assets until they're rented. You can self-delegate to the wallet you're using or another one of your choosing.
Keep in mind that self-delegation only lasts until the asset in question is rented. After that, if you wish, you can renew it manually by using the Self-Delegation option.
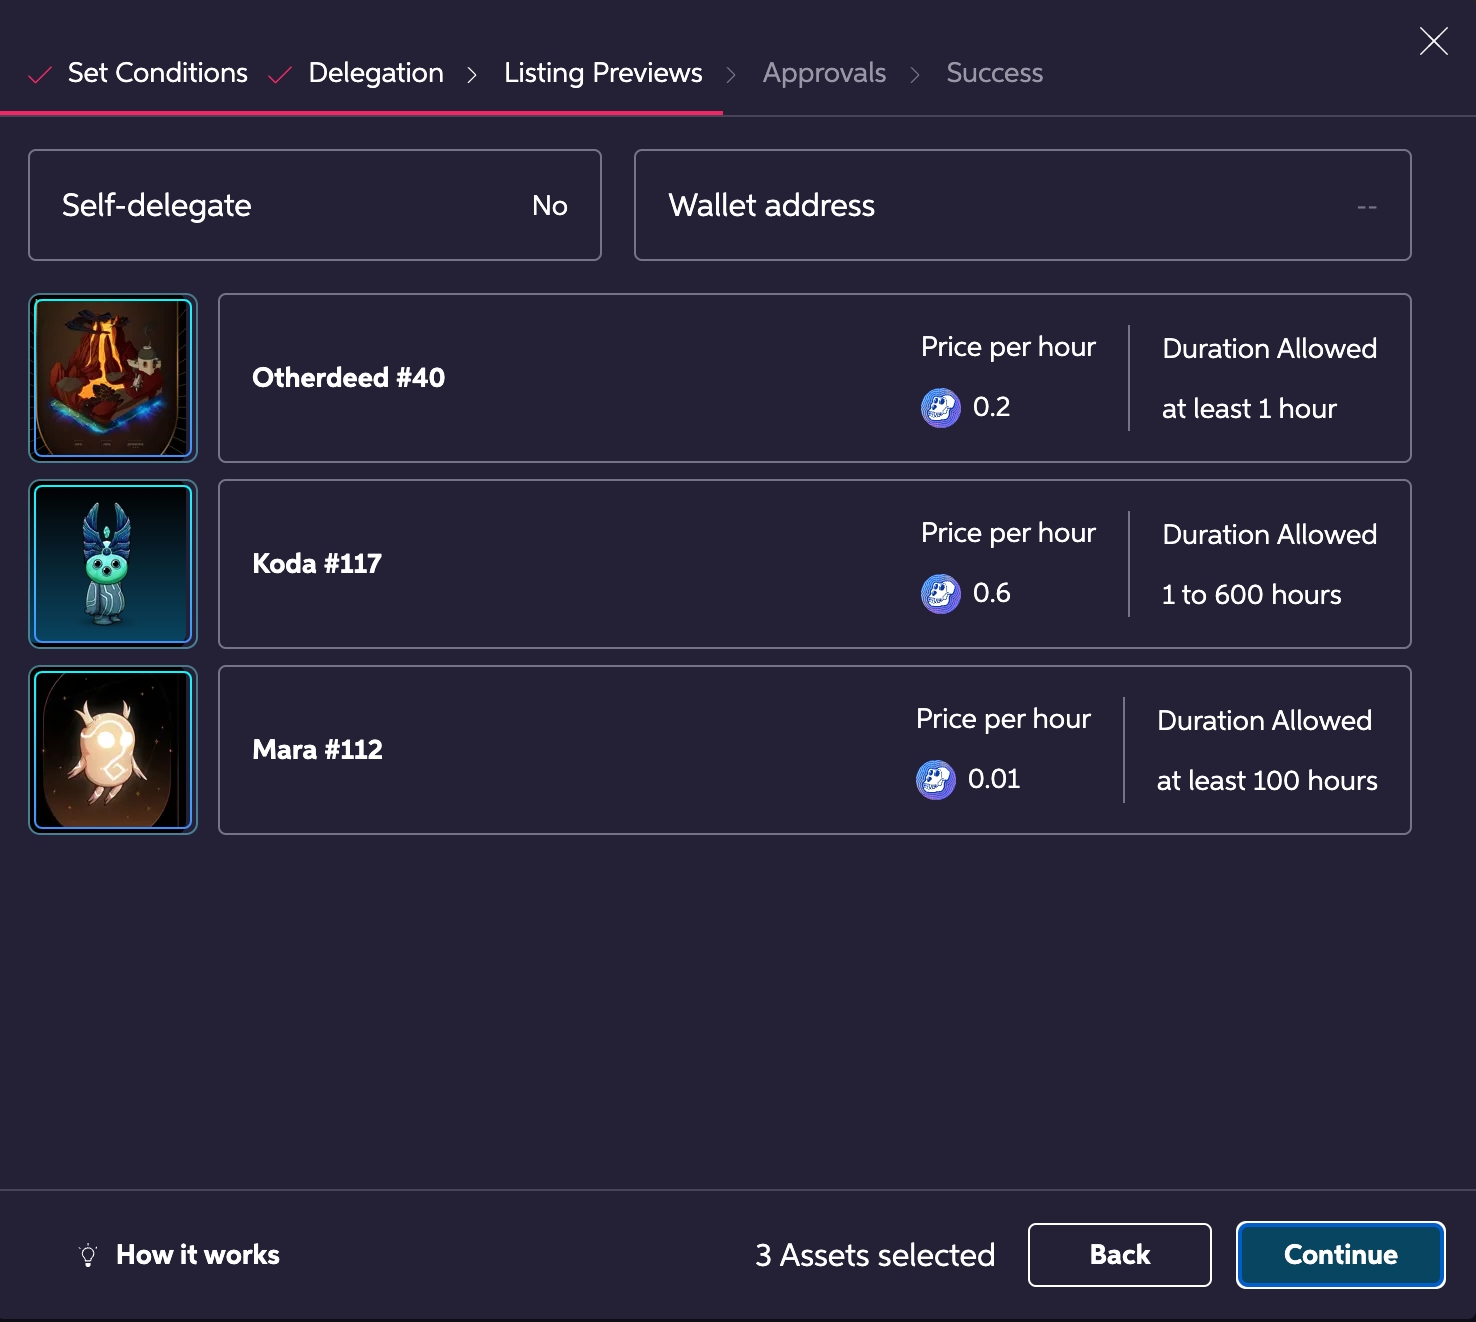
The Listing Previews step gives you a chance to double-check all the listing conditions and relevant information before proceeding.
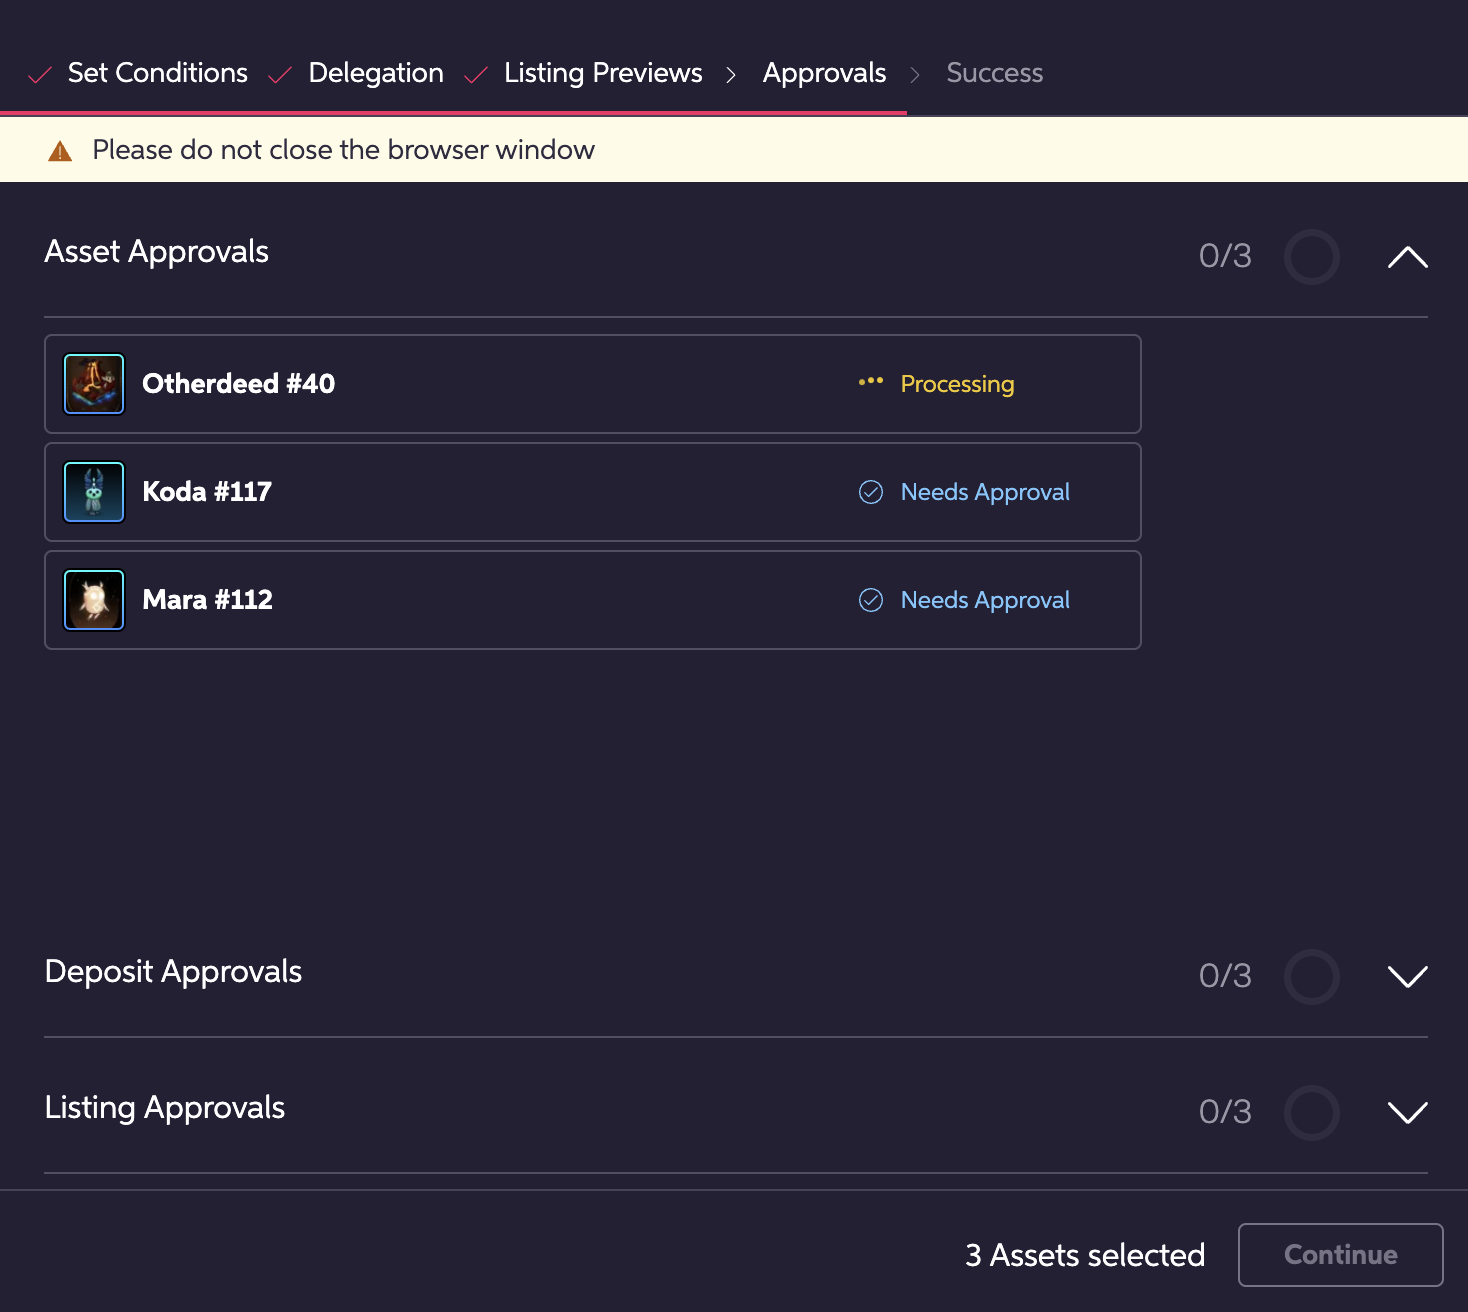
The Approvals step takes you through all the wallet authorizations required to move your assets to Safe Vaults and list them. The process is automated, so all you need to do is respond to your wallet's prompts.
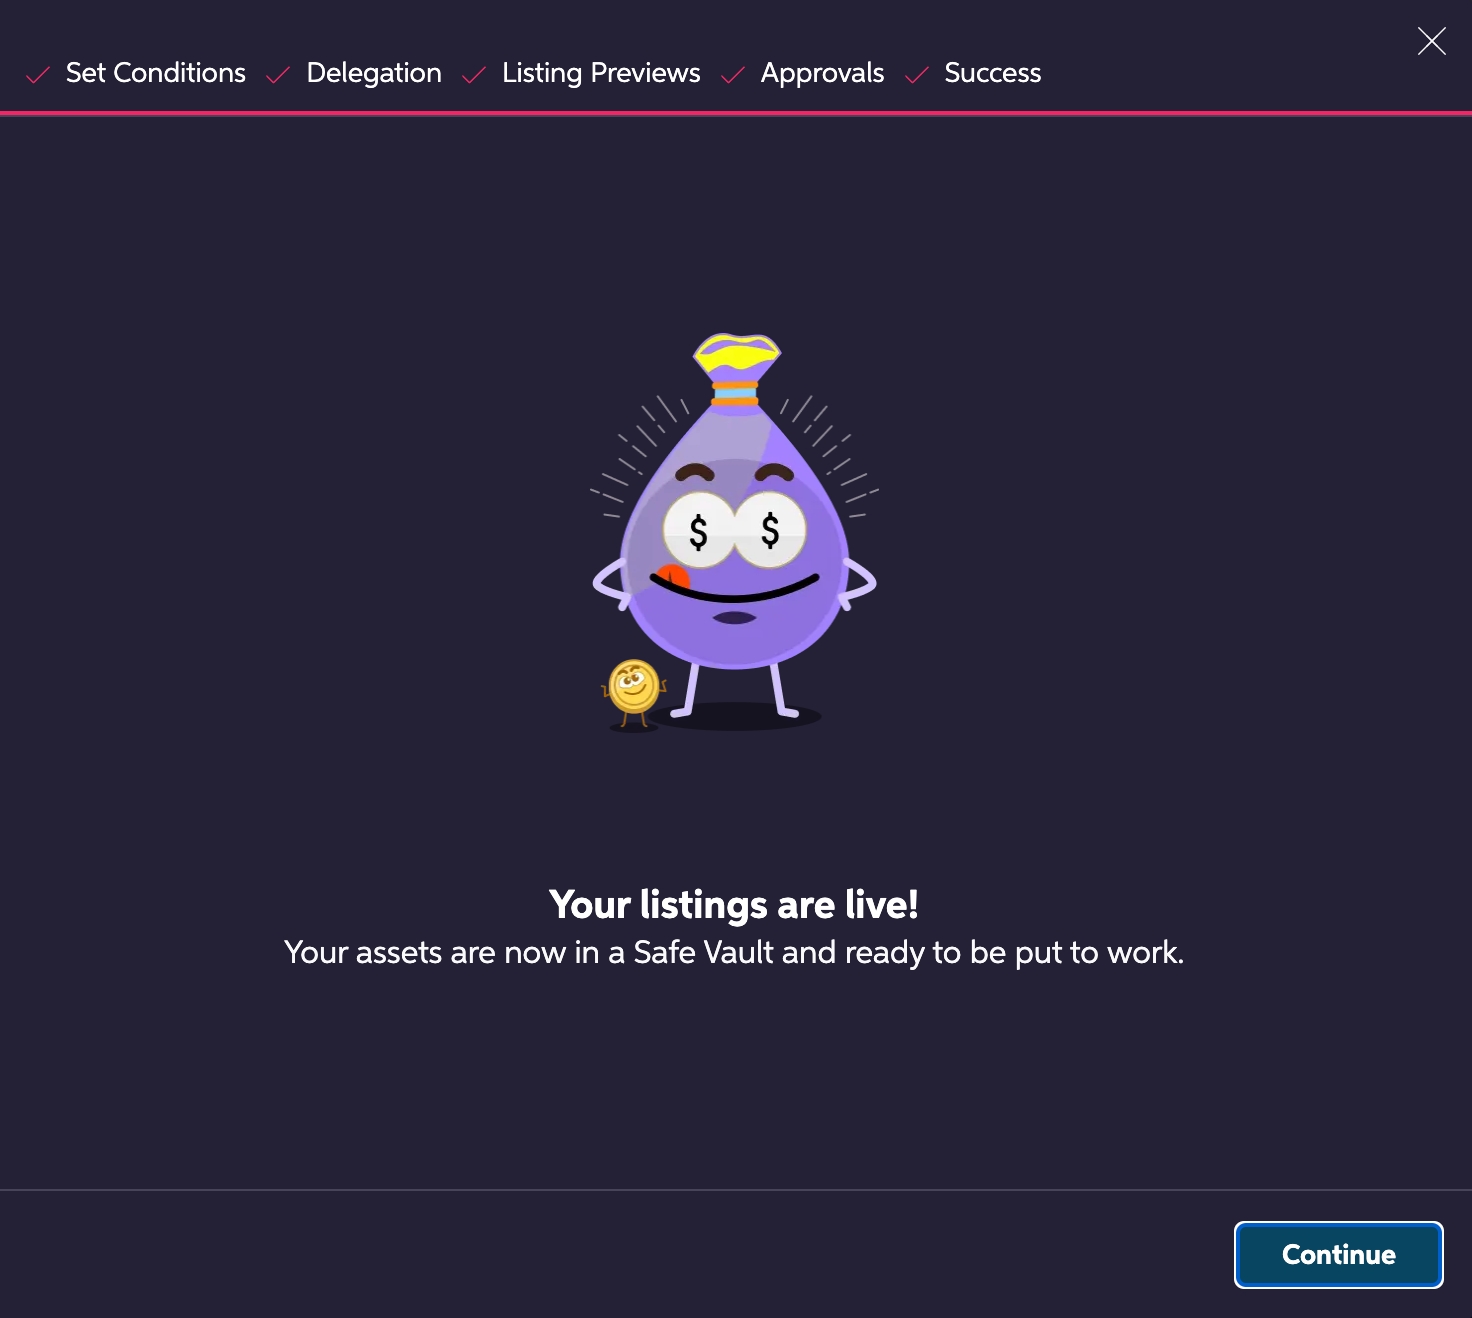
Congratulations! Your assets are now listed on our platform. Sit back and relax – each time someone rents your asset, you'll earn $APE!
Last updated